Hunter Job Change Guide
Info
- Requirements
- Base Level: None
- Job Level: 40-50
- Class: Archer
- Item(s) (Consumed):
- Varies (Step 3)
- Rewards
- Item(s):
- (Job LvL 40-49):
 Cross Bow [2]
 - (Job LvL 50):
 Hunter Bow
- (Job LvL 40-49):
- Quest Reward(s): Job change to Hunter
- Item(s):
-
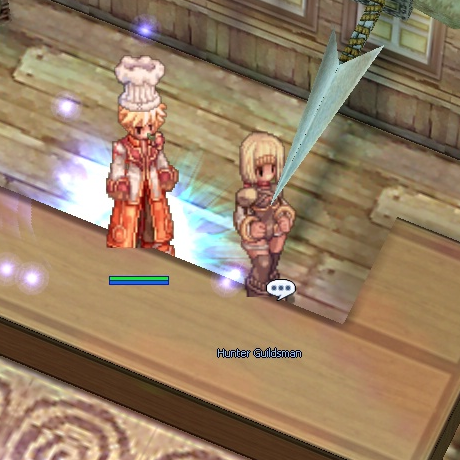
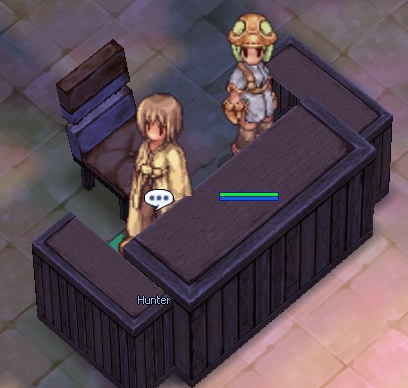
Go to the Hunter Guild in Hugel and talk with inside.
-
The first test is a personality assessment.
The following are the answers to the test:
Question Answer 1. Wander around alone and search for a place. 2. Walk with a friend 3. Hunt at a nearby field. 4. Go back to town. 5. Would it be possible to get a Heal, please? 6. Open a chatroom and wait. 7. Tell the person about a good place to hunt. 8. Guide them to their destination. 9. Watch, then attack when asked for help. 10. Try to find the owner.
-
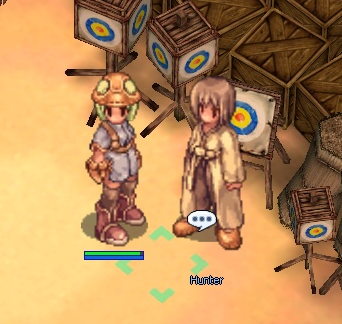
Talk with the , on the left, who tells you that the second test consists of gathering items to make arrows. Gather the items he requests, then talk with him again.

Demon Hunter will request one of the following sets of items, chosen randomly:
Set Items Set 1 5x  Claw of Desert Wolf
5x Trunk
Trunk
3x White Herb
Set 2 9x  Worm Peeling
9x Shell
Shell
9x Yellow Herb
Set 3 3x  Dokebi Horn
3x Piece of Egg Shell
10x Fluff
FluffSet 4 3x  Venom Canine
5x Red Herb
3x Animal Skin
Set 5 3x  Bill of Birds
5x Skel-bone
3x Green Herb
Set 6 3x  Tooth of Bat
1x Sticky Mucus
1x Bear's Footskin
Set 7 2x  Porcupine Quill
1x Yoyo Tail
1x Acorn
Acorn
-
Talk with again, who instructs you to meet another guild member in Payon to take the final test.
Bring enough healing items to recover all of your HP at least once for the final test.
-
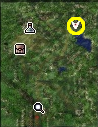
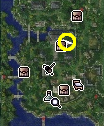
will tell you to either go to the Archer Village or the Payon Palace.
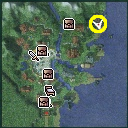
Location for the Hunter test
Go to the Archer Guild in the Archer Village situated to the north-east .
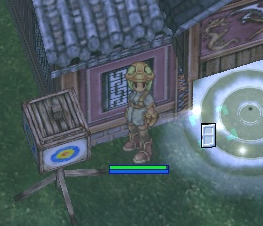
Enter the first room on your right, then talk with the Hunter (Hunter Guildmaster) and ask to take the final test.
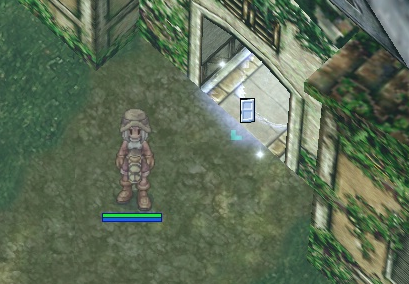
Go to Payon Town and then enter the first room on the right.
-
The Hunter (Hunter Guildmaster) will give you 200x
 Silver Arrows and transfer you to a waiting room. Walk forward and the examiner will explain the test to you.
The test area is a maze populated with Poring, Zombie, Archer Skeleton, and Mummie, and scattered with puddles of water. You are required to complete three objectives in order and within 3 minutes to pass the test:
- Kill any 4 of the monsters labelled "Job Change Monster".
- Open the exit by activating a switch.
- Exit the maze.
All of the monsters will die once the required number of target monsters have been killed.
The six target monsters are comprised of:
- 1 Poring, located in the north.
- 3 Zombies, each located in the east, west, and center respectively.
- 1 Archer Skeleton, located in the east.
- 1 Mummy, located in the south-west.
The switch is located at the center of the maze, and can be activated by clicking it. The exit is located in the north.
You can activate the switch from a distance! you don't need to stand next to it.
You will fail the test if any of the following happens:
- You kill any monster that is not labelled "Job Change Monster".
- You walk in any of the puddles of water.
- You fail to complete the objectives within the allocated time.
- You are killed.
When you are ready to begin the test, enter the receptionist's chat room and wait until you are transferred to the test area.
-
You are awarded a
 Necklace of Wisdom as proof of passing the final test.
-
Return to the Hunter Guild. Give the
Necklace of Wisdom to and she will make you a hunter.Before leaving the area, exit the Hunter Guild and kill enough monsters to learn Falconry Mastery
then return to the Hunter Guild and rent a falcon from the Falcon Breeder in the right wing of the building. Do note it cost 2500 zeny to rent a Falcon and there are no shop NPCs in the Hunter's Guild. So bring money beforehand.