Kiel Hyre Quest
Info

- Requirements:
- Base Level: 70
- Item(s) (Consumed):
- Rewards
- Base Experience: 4,250,000
- Item(s):
- 1
 Taming Gift Set
 - 1
 Old Card Album
 - 5
 Well-Baked Cookie
 - 1,000 Zeny
- 1
- Quest Reward(s): Access to the Kiel Hyre Dungeon
Click the coordinates to copy them, and paste them into the game chat to be directed to the location.
-
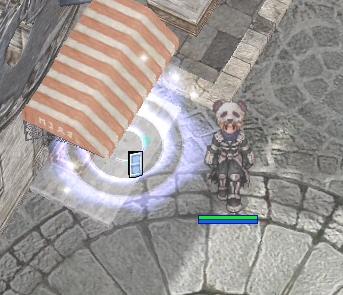
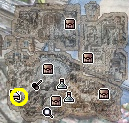
Enter the Juno Bar. . The master will speak upon entering. Talk to him and select
- "You look worried, what's up?". He mentions a delivery he was supposed to make to Ms. Lecollane. Select:
- "Do you want me to help you?"
- "Sure, I'll do it!",
and he will give you a bottle of 1
 Culinary Wine.
-
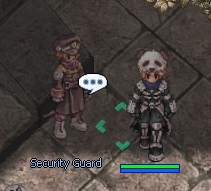
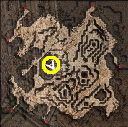
Go to the Kiel Hyre Academy (the shortest path is from Al De Baren taking 1 north, 1 west, 1 north). Talk to one of the guards at the main gate. You will tell him you are making a delivery to someone within the academy, and he will demand to know who you have business with, and what you are delivering. When asked, input the following to be allowed into the building:
-
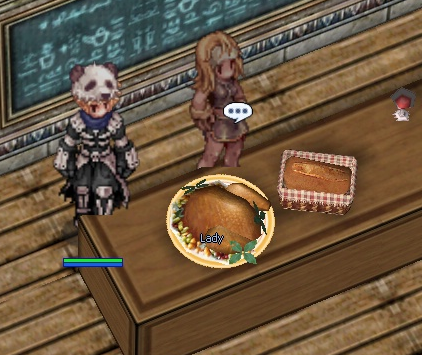 Go downstairs and speak to Lady (Lecollane)
.
Tell her you are there to make a delivery. At this point you will overhear one student, Elly.
-
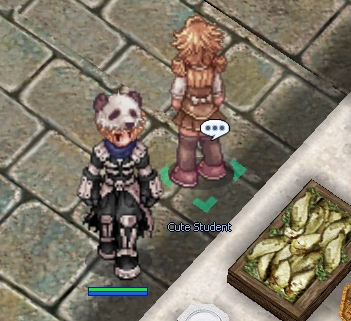 Speak to a Cute Student (Elly) .
Ask her- "What happened?",
- "What can I do to help you?".
She will tell you the following items are required for her baking cookies, and where you can get the items.
Items Info 1  Culinary Wine
Quest Step 5 7  Milk
MilkMilk Merchant in Prontera (Will not be provided) 5  Cacao
CacaoDropped by Yoyo (Will not be provided) 2  Cheese
Dropped by Taost Hermit in Kunlun (Will not be provided) 1  Egg
EggQuest Step 6 1  Flour
FlourQuest Step 6 You'll need to gather the Cheese, Milk, and Cacao on your own.
-
Go to the Juno Bar again and select
- "I need more wine...!".
The bartender there will give you some more 1
 Culinary Wine and pay you 1000z for making the delivery.
-
Speak to the NPC "Little Kid"(Cezu) .
Tell her- "I'm here for Elly...".
Cezu needs you to go to Lighthalzen for her.
-
In Lighthalzen, near the top right of the Slums area, you'll find Windmill Owner (Mills) .
Tell him- "I'm here for Cezu...",
and he'll give you 1
 Delivery Package.
-
Give the box to Cezu in Juno , and she'll make out a new
 Delivery Package with the Flour and Eggs you need for Elly.
-
Bring the items back to Elly in the Kiel Hyre Academy (the guard should let you in freely at this point), and Elly will give you 5
 Well-Baked Cookies she made. Don't worry if you misplace or use these cookies.
-
Talk to Elly again, because she feels she can trust you, she wants you to deliver the cookies to her gramps Kiel Hyre at his Cottage. Answer
- "What do you need?",
- "Sure".
-
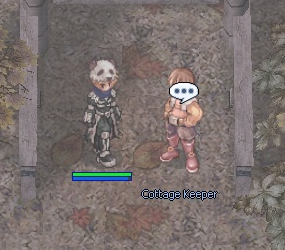
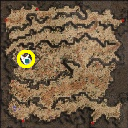
Make your way to Kiel Hyre's Cottage .
This is 1 map north of the Academy, just left of center.
-
Talk to the Guardsman on watch at the Cottage. Tell him
- "I have an appointment with Kiel Hyre",
- "Yes". But he won't let you in.
-
Return to Elly with this news. She will give you a 1
 Cottage Key.
-
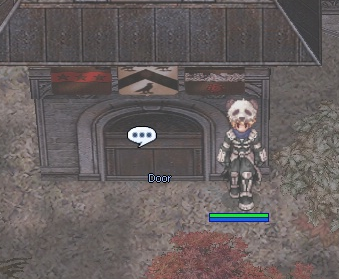
At the Cottage, use the key on the door to the left and select "Unlock" to enter the storage room.

-
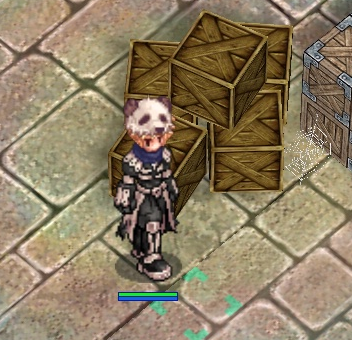 Move 6 cells foward, 3 cells left, 3 foward, then 4 more left,
(or simply move to
around the boxes in the bottom right of this room) and you'll find a
1
  Letter to Elly.
-
Bring the letter back to Elly .
Speak to her TWO times and choose:- "What's with this academy?",
- "Strange incidents?".
Speak to her a third time and she will then ask you to go back to the Cottage and look around.
-
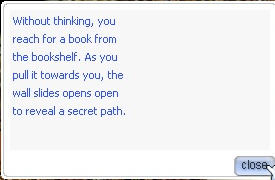 Go back to the Cottage and enter in the door to the left.
This time, when you are down there, investigate the bookshelf at the left side (there are four "Book" that you can talk to, they all work). You may need to check several times(about 10% chance each attempt), but you should find a switch.
Activate the switch, and a secret passage to the main building will open up. You'll need to click on the passage
-
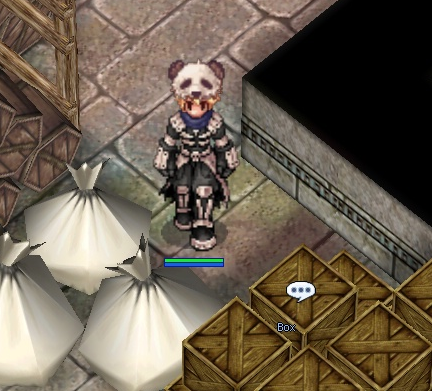 As soon as you enter the Cottage, you'll find yourself in the
kitchen. Look behind you, and you'll see some boxes. Buy some of the
pet food here.
As soon as you enter the Cottage, you'll find yourself in the
kitchen. Look behind you, and you'll see some boxes. Buy some of the
pet food here.Bringing your own Pet Food instead of buying it here will work (and it will be cheaper).
-
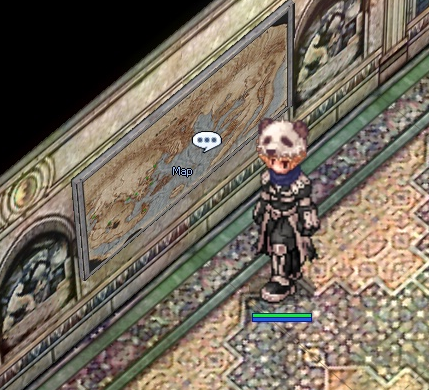 Leave the kitchen to the bottom right portal. Along the wall you'll find a map of the
world .
Leave the kitchen to the bottom right portal. Along the wall you'll find a map of the
world .- "Examine" this map.
You'll find something hidden but you can't
get to it without damaging the map.
- "Examine" this map.
You'll find something hidden but you can't
get to it without damaging the map.
-
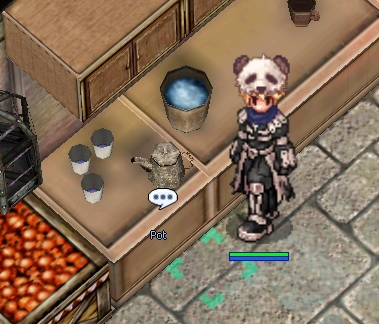 Go back to the kitchen, and investigate the Pot
and- "Try it.".
- "Try it.".
-
Return to the map of the world . Interact two times here.
- "Read". This time you will find a hidden paper with a poem.
-
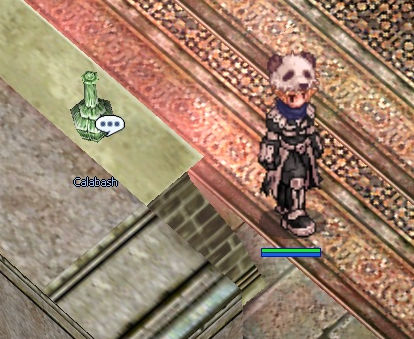 There is a portal near the south west corner of the room, enter
it, on top of the hearth along the west wall, you'll find a green
Calabash .
There is a portal near the south west corner of the room, enter
it, on top of the hearth along the west wall, you'll find a green
Calabash .- "Look inside Calabash"
and you'll obtain an 1
 Old Bronze Key.
-
 South of this point, you'll find a small indoor garden
.
Investigate the pool. After using following options you should be able to go upstairs:- "Pull Handles"
- "Left Handle"
- "Investigate"
- "Press Button"
-
Go out the portal just to the east of the pool and through the portal across the hall .
At the top of the stairs, you'll find a dog guarding the path, "March Forward". Not wanting to alert the guardsman outside, you need to find a way past. Select "Give Pet Food" to toss the dog some of the Pet Food you bought earlier and it'll let you by.You can press 'Cancel' on the dialog window and walk past the dog without needing Pet Food.
-
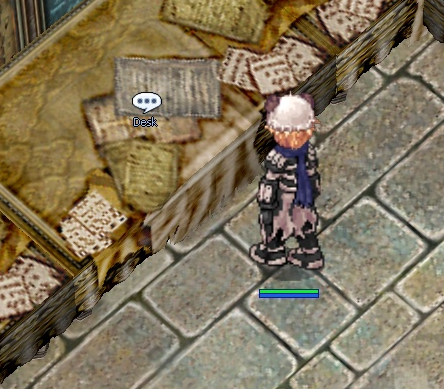 There are three rooms upstairs, a bedroom, an office, and a
library. Enter the office , the second room. Search through the documents located on the desk, and
you'll receive a blank piece of paper with the Kiel Hyre seal on it (not
in inventory).
-
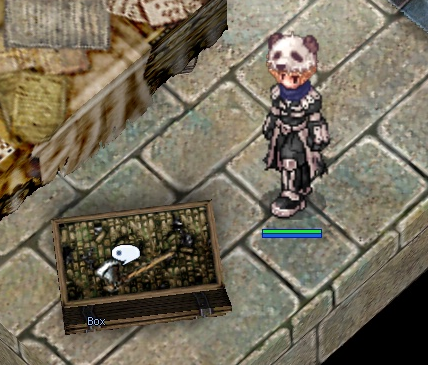 Investigate the box in the bottom left of the room and "Use Old Bronze Key".
You'll obtain a 1 Green Keycard.
-
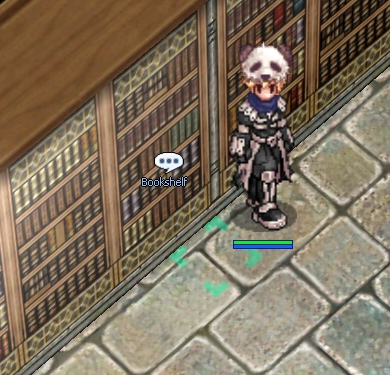 Go to the library. In the 1 'o clock direction, investigate the bookshelf at .
You'll find a suspicious book To Elly. Follow the options:- "Examine Book"
- "Examine the steel surface"
- "Try all your keys"
- "Cottage Key"
- "Green Keycard"
You will obtain a small 1
 Steel Box.
-
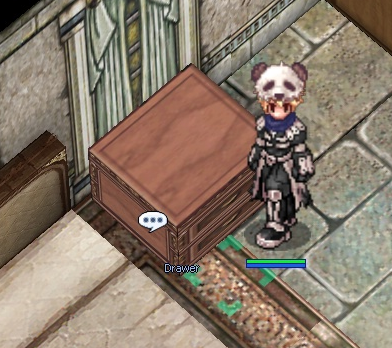 Go to the last room (the first one in the hallway)
.
Look beside the bed and you'll find a Drawer.- "Open Drawer" to receive the 1
 Yellow Keycard.
- "Open Drawer" to receive the 1
-
In the same room, you'll find a 'Medicine Chest' lined with potions, you'll speculate that the blank document must have secret writing, select:
- "Of course! Let's try it!"
- "Try Blue Liquid" on the documents you found earlier, and you'll reveal a poem. Be sure to keep this information handy.
-
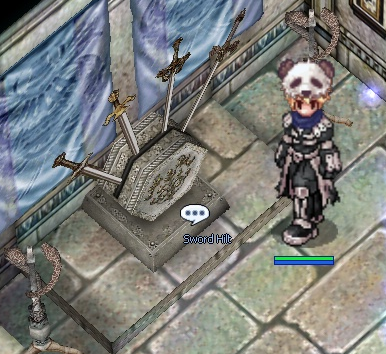 Head back downstairs (Choose Cancel or Run away in the dog dialog). Just beside the stairs, you will see a
decoration with 4 swords .
Select:- "Of course!"
- "Insert Ornamental Swords"
- "Second Snake"
- "Fourth Snake"
- "First Snake"
- "Third Snake"
-
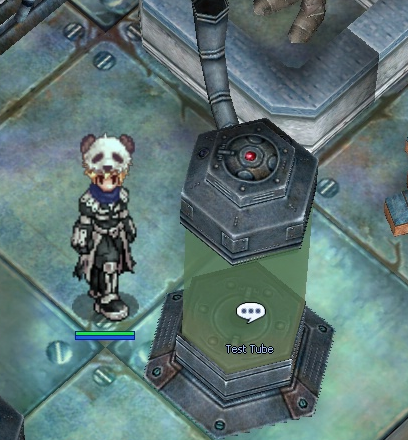 In this hidden room, there will be two test tubes.
- "Press Button" on the right one, it will ask you for a name. Input
the code found in red on the end of the second poem
You'll be revealed the code "4772961" (no need to remember this code).
- "Press Button" on the right one, it will ask you for a name. Input
the code found in red on the end of the second poem
You'll be revealed the code "4772961" (no need to remember this code).
-
Its time to Return to Elly. She won't be at the school anymore so there is no need to return there, but instead you'll want to go to her room at the dormitory located behind the school .
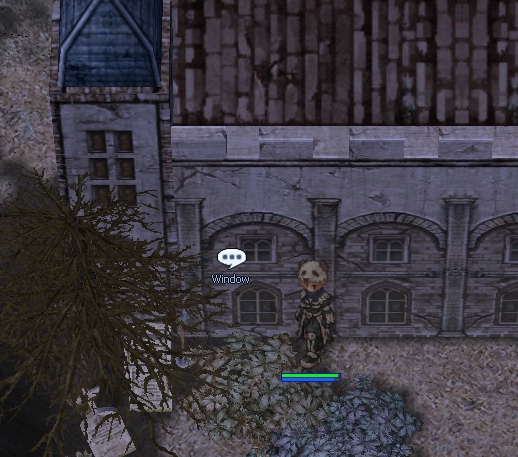
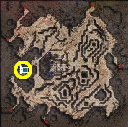
To enter her room, you can "Climb Water Pipe" by clicking on her window (it may take several attempts to climb up).
-
Talk to Elly. You'll find that she won't respond to you at all.
-
Check the cookie basket on the table. In the box you'll find a note written for you, select "Read Note".
-
Talk to Elly again.
- Wake her up by yelling
She won't talk. Interact with her twice to receive: - 1
 Golden Key
 - 1
 Luxurious Button
and - 1
 Blue Keycard will be obtained when talking to her the second time. (This will consume the Steel Box from your inventory.)
Kiehl Dungeon Level 1
- Wake her up by yelling
-
Leave Elly's room through the window. Outside you'll see an arrangement of 5 graves.
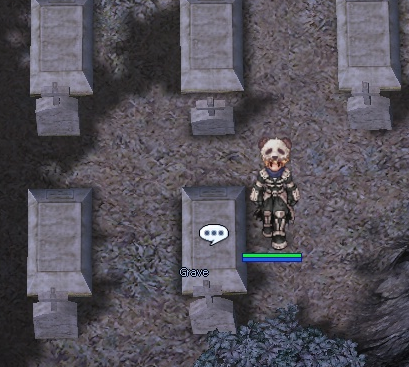
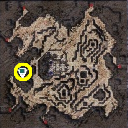
Go to the bottom right one. When prompted, insert:At this point, players obtain access to the first level of the dungeon.
Unable to enter? Expand me by clicking!
-
If you have trouble opening the door here please check your inventory. You should only have these 4 items:
 Yellow Keycard (Step 28)
 Blue Keycard (Step 35)
 Golden Key (Step 35)
 Luxurious Button (Step 35)
-
If you still have the
 Green Keycard and
  Cottage Key repeat Step 27 and continue with Step 35.
 - If you still have the
 Steel Box go back to Step 35.
-
-
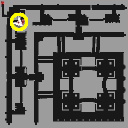
Make your way to the far right side, the bottom door along the wall . Be careful as you cannot teleport here.
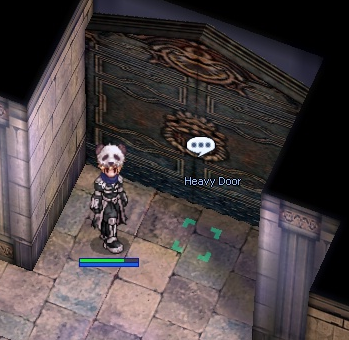
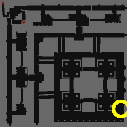
When you attempt to- "Open Door"
-
Inside you will see several women. Talk the one in the middle (the others do nothing if you click them), and they will introduce themselves as Allysia. When they ask you to identify yourself, show them the 1
 Golden Key. which you got
from Elly. They will immediately know you are one of Elly's friends, and
one of them will ask to speak to you.
Golden Key. which you got
from Elly. They will immediately know you are one of Elly's friends, and
one of them will ask to speak to you.- Golden Key
-
When you're moved to a separate room, talk to Allysia and ask "What happened to Kiel Hyre?" and she will give you a 1
 Red Keycard, and ask you
to find Kiel Hyre. Talk to her again and you'll be warped back to the 1F
entrance.
Red Keycard, and ask you
to find Kiel Hyre. Talk to her again and you'll be warped back to the 1F
entrance.- What happened to Kiel Hyre?
-
This time, in the top right corner of 1F, use the
to access the restricted area .
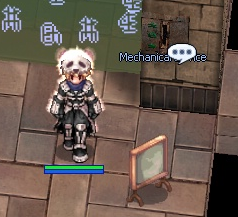
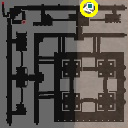
-
Along the path, approach the final door to the right .
While Kiel will not let you in he will talk to you briefly, and give you a 1 Metal Fragment.
Use the portal to the right to exit the restricted area.
-
Take the part back to Allysia and use the Blue Keycard again on the door. Talk to the middle NPC again. She will ask you to visit her master in Lighthalzen and teleports you to the dungeon entrance outside.


- Open Door
-
In Lighthalzen you'll find Kiel Hyre's Mansion .
Enter, and speak to the Steward .
When he questions you. Show him 1 Golden Key.
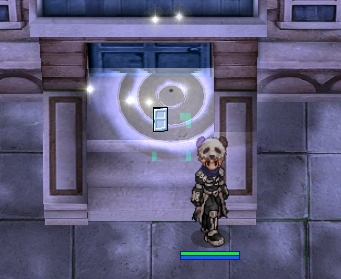
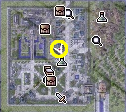
- Present Golden Key
-
You will find Kiel Hyre senior and Allysia here. Talk to Kiel Hyre, and answer the questions he has for you.
Tip
Fastest way is to spam the Robots 3 times. You can read through all different paths as long as you talk to him 3 times in total.
Allysia will explain about the mechanical dolls but you don't have to speak with her for the quest.
Talking to Kiel again you will receive roughly:
- 1,750,000 Base Experience
- 1
 Taming Gift Set
-
After you're finished talking with them, leave the building and you'll fall unconscious after being hit in the head.
-
Finding yourself in a tiny room, talk to the Mysterious Woman.
You can choose either option and she'll explain about Kiel's company and its ties to Rekenber. (You end up telling her everything anyway) After agreeing to help, she'll tell you her name is Mitchell.Tip
Fastest way here is just to spam the first option till she warps you away.
Note
You're able to re-enter the room after you have talked with her once. Talk to the Steward and ask for Mitchell. If you haven't talked to her yet, you can simply go back to Kiel Hyre and leave the room to get abducted again.
-
Talk to Mitchell again, and she asks you to go to Juno to investigate a woman who knew the real Allysia thirty years ago. Talk to her once more to take the airship to Juno.
-
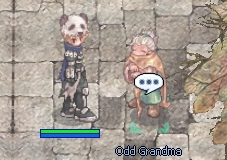
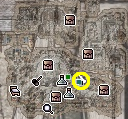 Find the two women, Odd Grandma and Old Lady to the southeast of the main forum, near .
-
Talk to the Odd Grandma first:
- What are you doing?
-
Talk to the Old Lady to learn about the Grandma.
- Do you know that grandma?
The Old Lady then hands over the
 Rosimier Mansion Keys.
-
-
Head to the Rosimer Mansion near where the two women are standing,
and go inside .
-
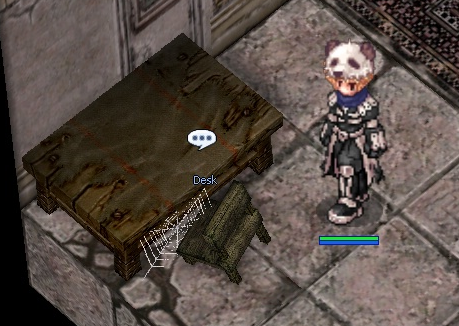 Go upstairs and head south, then take a left. Take the bottom
left portal (out of the set of 6) , and open the
Go upstairs and head south, then take a left. Take the bottom
left portal (out of the set of 6) , and open the- second drawer reveals
 K.H.'s Letter.
Check the bookshelf in the same room and find
 James's Note.
- second drawer reveals
-
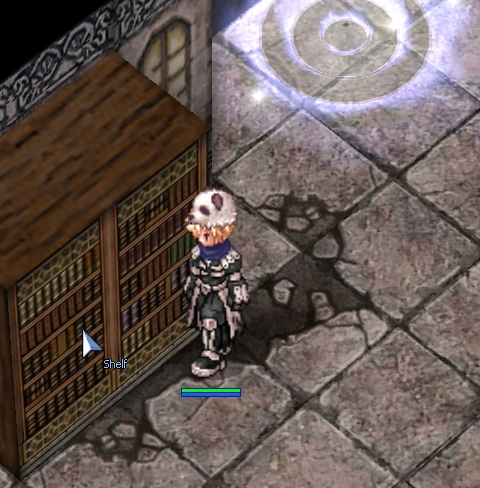 Go downstairs again, and take the second portal from the stairs
(not the one right under them) .
Check the Shelf near the portal, and use:- Use Key
- First Box
to obtain a Portrait of a Lady.
-
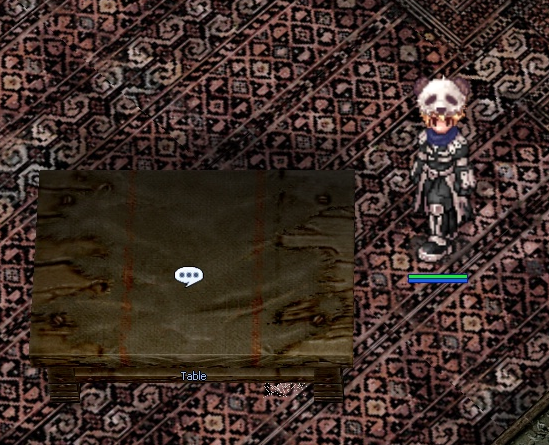 Take the other portal in the room, and check the Table in the
next room .
You'll get the Portrait of a Family.
-
Talk to the and the Odd Grandma outside the mansion, and they'll tell you to search for a fisherman south of the KH Academy.
-
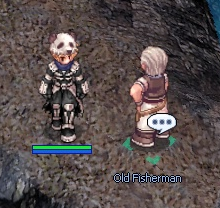
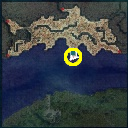
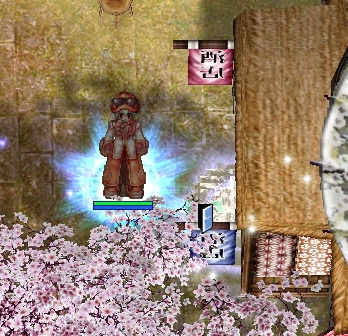
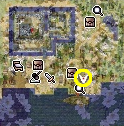
Head to one map south of the Academy, and find the fisherman at the southern tip of the map .
Talk to him and he asks you to bring him:- 10
 Raw Fish.
After bringing him the fish, he tells you to visit Kiel's old hut.
Getting Raw Fish
If you don't have the 10
 Raw Fish with you, go to Amatsu now and buy it in the sushi shop
.
Ask the npc for a Set of sliced fish (which are 10 Raw Fish).Do not choose to give your assistance to the Sushi Master or you will not be able to buy more Raw Fish until you give him the items he asked for.
- 10
-
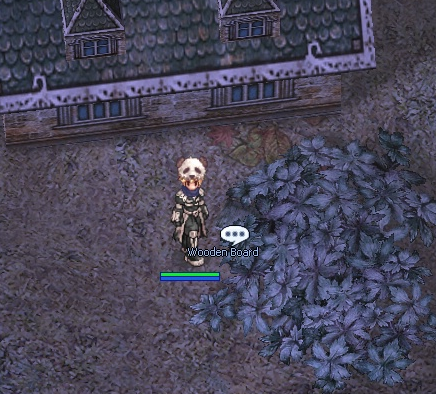
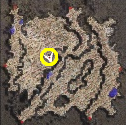
Go to and click on the Wooden Board in the bushes outside the hut. You'll find 1
 Man's Portrait.
-
Head back to the Kiel Mansion in Lighthalzen and talk to the .
- Mitchell and tell her what you found. She sends you to talk with Kiel.
Back to the .
- Kiel Hyre
Kill part
-
Talk to Kiel, and he tells you the whole story.
- About Allysia...
He then asks for your help to stop his "son", gives you a
 Power Device and opens a portal for you to enter.
Partyplay
If you need help with this quest and are bringing party members along, they need to have reached at least step 43 (show the Golden Key to the Steward) and it doesn't matter if they have finished the quest earlier in order to follow you in.
-
Enter the portal and you'll enter the first room.
-
Click on the Receiver next to the bed. This will summon an Alicel and Aliot. After the summoned monsters are dead, 1
 Black Keycard will drop from the receiver.
It may be easier to obtain 4 Black Keycard now because it’s harder to obtain later on.
Partyplay
You will only need a total of 4
 Black Keycard for you or your whole group, since the doors open for everyone!
Only one person should activate the Receiver at any time, because the key only spawns when every monster in the room dies regardless of the number summoned. Black Keycard are not transferable.
Anybody who picks it up is stuck with it, so make sure the correct person/party gets it.
Since all persons can pass the door once opened, it doesn't matter who in your party will loot it.
-
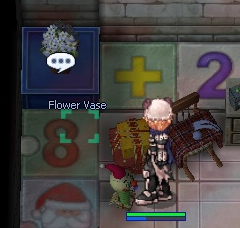 Click on the vase next to the bed, and when prompted, read the
message on the bottom (by turning it upside down).
-
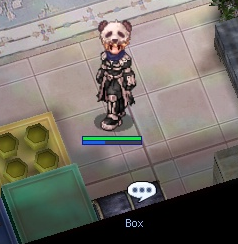 Open the chest at the bottom of the room. The password is
You will receive a
 Toy Key.
You will need this key for the second door.Partyplay
Even though only one 1
 Toy Key is needed to open the door, this step is mandatory for the every party member to continue the quest.
-
Open the door at the end of the room and use your first
and make your way to the next room. If the door doesn't open, make sure all the monsters are dead before proceeding, and that you have the required keys.
-
On the way through between rooms, you'll encounter a small number of monsters. In the room, you can open this door by typing in
-
Follow the path to the third room. Open this door using your second
-
Make your way to the fourth room. You will need 2
At the left side of the room there will be test tubes that can be used to spawn monsters. Black Keycard to open this door.
Killing them will reveal a Black Keycard if it’s needed.
-
Make your way to the fifth and final room. There will be more monsters here than there were previously.
-
You'll need to click the door 3 times.
(every dialog option works here, click the one you like the most).-
Each time, 2 Aliots, and 2 Alicel will attack you.
Tip
You do not need to kill them between the attempts on Arcadia.
Just spawn as many as you can handle to kill.
Remember, if you disconnect, you'll end up back at your save point. Don’t go too crazy!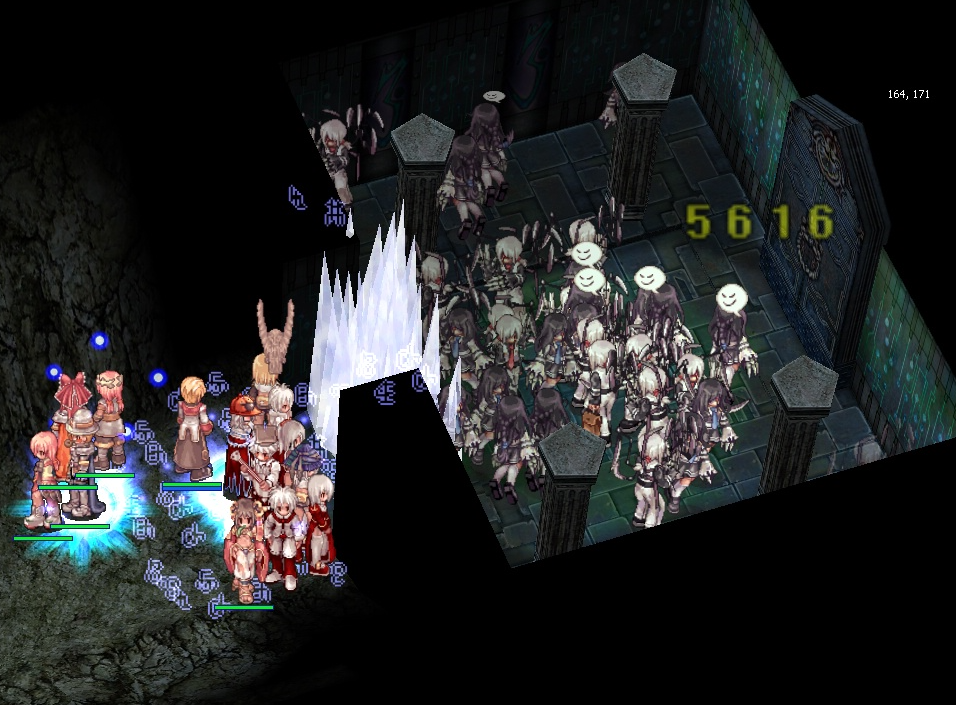
-
The fourth time the dialog changes. You have to insert 4
 Solid Iron Piece one by one.
 - The next dialog offers you to open the door. Read the "Partyplay" section before opening the door.
- Opening the door initiates the fight with Kiel and has a limit of 10 minutes.
Partyplay
Even if you've completed the quest, you will be able to return later and assist others if needed. But only those actively participating in completing the quest can open the portal to the Toy Room.
If you want to do the kill part as a group every group member (1 by 1) has to:- Interact with the door 3 times to spawn the 4 Monsters each time.
- Interact again with door and put 4
 Solid Iron Piece in.
 - Interact with the door one last time, but choose "No"! Otherwise, you'll open the door and trigger the 10-minute timer.
Party members that not interacted with the door or missed putting in all iron parts won't get the final reward.
Once all Party Members can open the door, one of the players opens the door for all others.
-
-
Once the door is opened, anyone who wants to assist you in the coming battle will need to enter before or immedately after you. The door will close eventually and no one else will be able to enter until you are finished.
Partyplay
Only one player needs to actually open the door. All other members should enter the portal quickly.
Timelimit
This area has a time limit. After roughly 10 minutes you will be warped out. If you fail, leave, or disconnect go back to step 57.
-
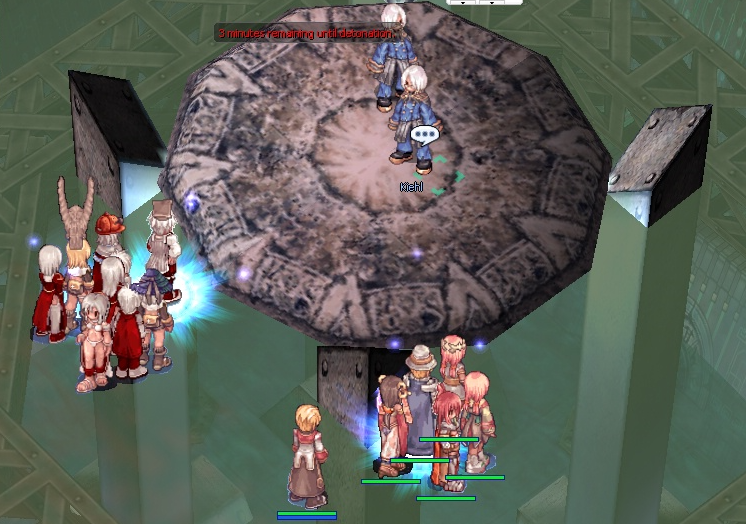
When you enter the room a large number of monsters will spawn within a few seconds. Dispatch these and make your way to the center of the room.
Partyplay
If at any time from this step onward your party is wiped out, you'll need another 3
 Black Keycard
(for the whole group) again to open all the doors you went through earlier,
and all previous monsters will respawn.
However, you should be able to open the door from step 67 without killing monsters, or using
  Solid Iron Pieces again.
-
Upon talking to Kiehl, he will summon more monsters (including the weak constants).
After killing these, Quest Kiehl will return.
-
Talk to Kiehl again. After a brief conversation, Kiehl will attack you. You must defeat Kiehl to continue.
(Medium, Formless, Shadow 2, 523k HP)
-
After defeating Kiehl, talk to him again. He will explain his plan.
In the end he will hand over Allysia's Ring.
A portal will appear behind him, and you can use this to leave the room.
If you didn't get the ring, talk to Kiehl again before exiting the room.Partyplay
All other Party Members have to talk to Kiehl after the fight to receive their
 Allysia's Ring.
If you did not get the ring you probably failed step 60-67 and have to do the kill part again.
Kiehl Dungeon Level 2
-
Bring the
 Allysia's Ring to Kiel Hyre.
He will recommend you look for Kiehl in the second level of the factory dungeon.
He will give you experience, an Old Card Album, and a
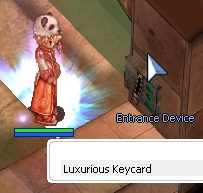
  Luxurious Keycard to gain access to the Kiehl dungeon lvl 2.
At this point the quest is complete, and you can choose to find and battle Kiel D-01 now if you wish.
Enter level 2 with the Entrance Device